https://spring.io/guides/gs/securing-web/
Securing a Web Application
this guide is designed to get you productive as quickly as possible and using the latest Spring project releases and techniques as recommended by the Spring team
spring.io
백기선님의 스프링과 JPA 기반 웹 어플리케이션 개발이란 강의를 샀는데 학습을 잘 안하고 있다.
이 프로젝트를 진행하며 강의에 나온 내용을 적용시켜가면서 개발하고자 하여 스프링 시큐리티를 사용하려고 한다.
그렇지만 강의를 봐도 스프링 시큐리티에 대해 잘 모르겠다.
역시 공식문서를 보고 따라하는게 최고인것 같아 학습해보려 한다.
준비물
- About 15 minutes
- A favorite text editor or IDE
- JDK 1.8 or later
- Gradle 4+ or Maven 3.2+
- You can also import the code straight into your IDE:
Git에서 가져와서 확인해보려면 아래 링크로
https://github.com/spring-guides/gs-securing-web
GitHub - spring-guides/gs-securing-web: Securing a Web Application :: Learn how to protect your web application with Spring Secu
Securing a Web Application :: Learn how to protect your web application with Spring Security. - GitHub - spring-guides/gs-securing-web: Securing a Web Application :: Learn how to protect your web a...
github.com
본인은 Gradle을 사용
build.gradle
plugins {
	id 'org.springframework.boot' version '2.5.2'
	id 'io.spring.dependency-management' version '1.0.11.RELEASE'
	id 'java'
}

group = 'com.example'
version = '0.0.1-SNAPSHOT'
sourceCompatibility = '1.8'

repositories {
	mavenCentral()
}

dependencies {
	implementation 'org.springframework.boot:spring-boot-starter-thymeleaf'
	implementation 'org.springframework.boot:spring-boot-starter-web'
	testImplementation('org.springframework.boot:spring-boot-starter-test')
}

test {
	useJUnitPlatform()
}
보안되지 않은 웹 응용 프로그램 만들기
html 파일들 만들기
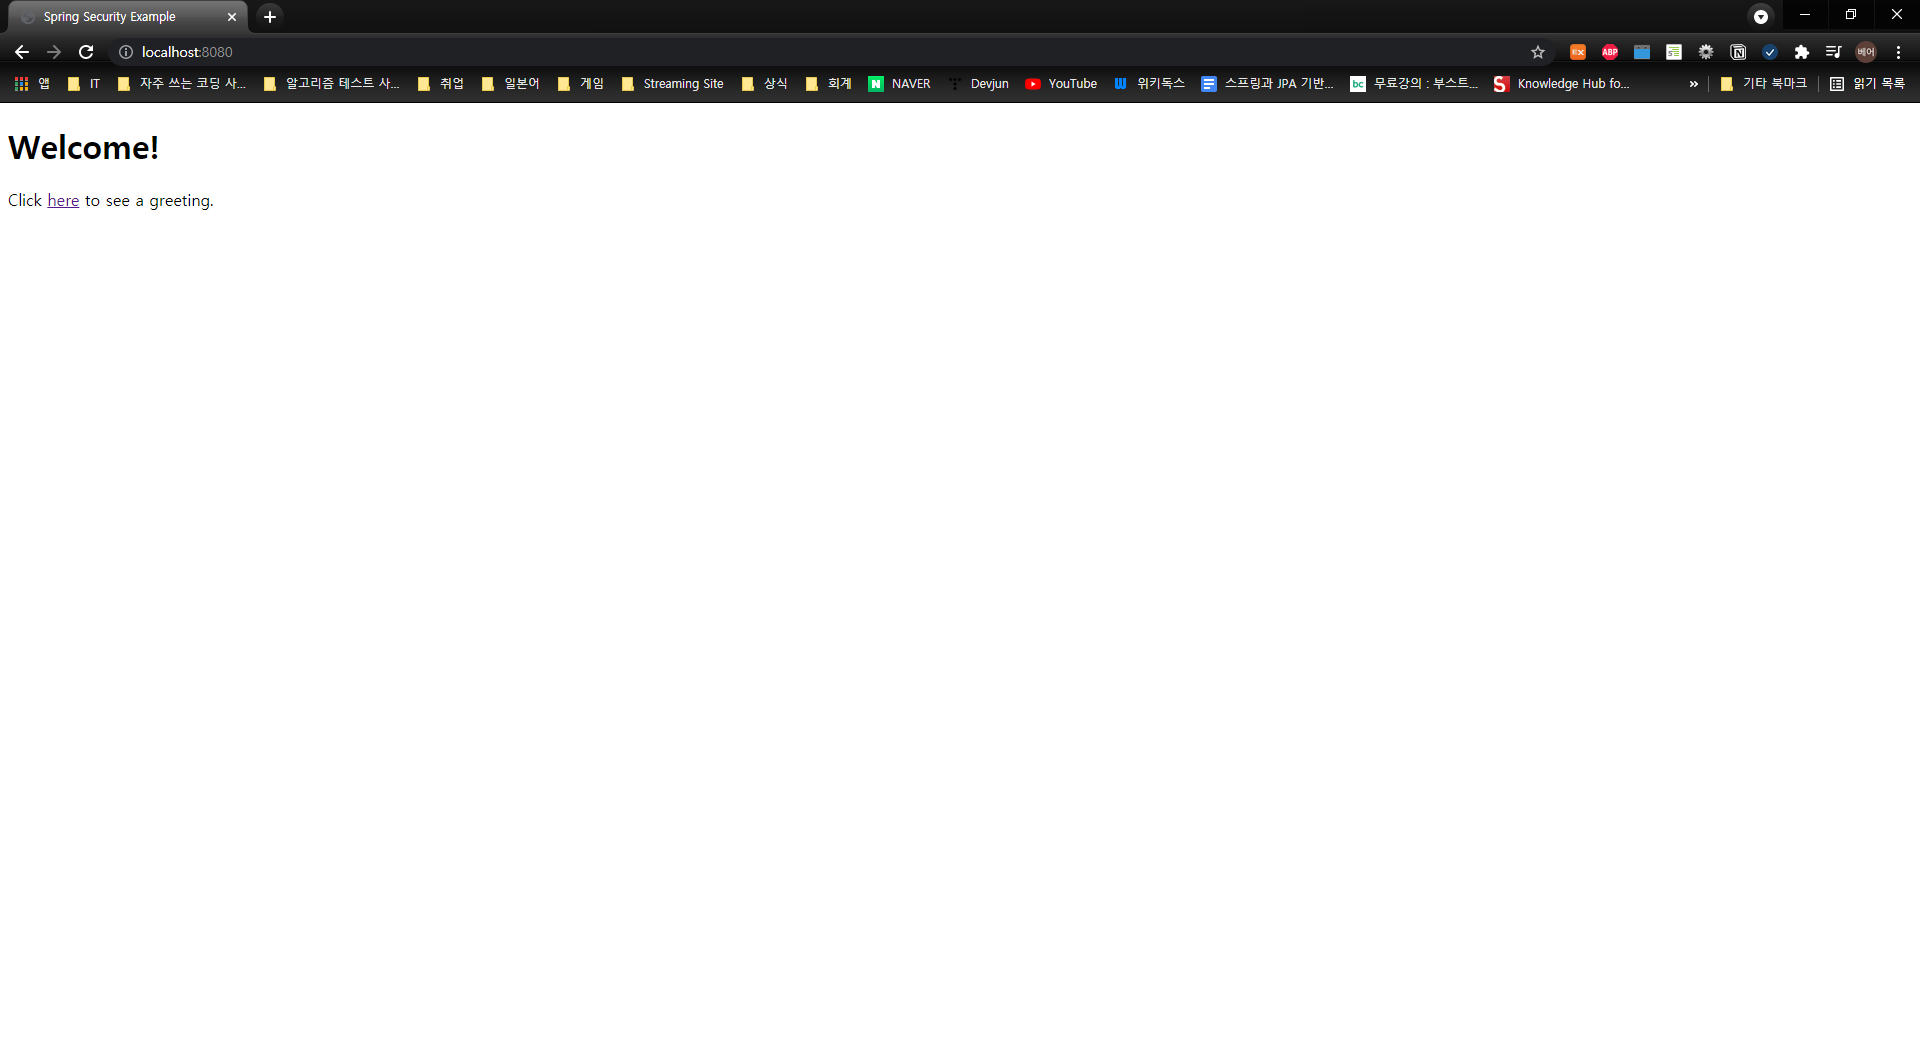
src/main/resources/templates/home.html
<!DOCTYPE html>
<html xmlns="http://www.w3.org/1999/xhtml" xmlns:th="https://www.thymeleaf.org" xmlns:sec="https://www.thymeleaf.org/thymeleaf-extras-springsecurity3">
    <head>
        <title>Spring Security Example</title>
    </head>
    <body>
        <h1>Welcome!</h1>

        <p>Click <a th:href="@{/hello}">here</a> to see a greeting.</p>
    </body>
</html>
src/main/resources/templates/hello.html
<!DOCTYPE html>
<html xmlns="http://www.w3.org/1999/xhtml" xmlns:th="https://www.thymeleaf.org"
      xmlns:sec="https://www.thymeleaf.org/thymeleaf-extras-springsecurity3">
    <head>
        <title>Hello World!</title>
    </head>
    <body>
        <h1>Hello world!</h1>
    </body>
</html>
뷰 컨트롤러
src/main/java/com/example/securingweb/MvcConfig.java
package com.example.securingweb;

import org.springframework.context.annotation.Configuration;
import org.springframework.web.servlet.config.annotation.ViewControllerRegistry;
import org.springframework.web.servlet.config.annotation.WebMvcConfigurer;

@Configuration
public class MvcConfig implements WebMvcConfigurer {

	public void addViewControllers(ViewControllerRegistry registry) {
		registry.addViewController("/home").setViewName("home");
		registry.addViewController("/").setViewName("home");
		registry.addViewController("/hello").setViewName("hello");
		registry.addViewController("/login").setViewName("login");
	}

}
스프링 시큐리티 설정
승인되지 않은 사용자가 /hello라는 링크로 접근하는것을 제한하려고 한다.
해당 페이지로 접근하기 전에 로그인하도록 장벽을 추가해보자.
애플리케이션에서 스프링 시큐리티 설정을 통해 이를 수행할 수 있다.
Spring Security가 ClassPath에 있으면 Spring Boot는 기본 인증으로
모든 HTTP endpoint를 자동으로 보호 합니다. (모든 접근을 보호 즉 차단한다는 의미)
Spring Boot Reference Documentation
This section goes into more detail about how you should use Spring Boot. It covers topics such as build systems, auto-configuration, and how to run your applications. We also cover some Spring Boot best practices. Although there is nothing particularly spe
docs.spring.io
그러나 보안 세팅 추가적으로 커스터마이징 할 수 있습니다.
가장 먼저 해야 할 일은 Classpath에 Spring Security를 추가하는 것입니다.
Spring Security 용 build.gradle
plugins {
	id 'org.springframework.boot' version '2.5.2'
	id 'io.spring.dependency-management' version '1.0.11.RELEASE'
	id 'java'
}

group = 'com.example'
version = '0.0.1-SNAPSHOT'
sourceCompatibility = '1.8'

repositories {
	mavenCentral()
}

dependencies {
	implementation 'org.springframework.boot:spring-boot-starter-thymeleaf'
	implementation 'org.springframework.boot:spring-boot-starter-web'
	implementation 'org.springframework.boot:spring-boot-starter-security'
	implementation 'org.springframework.security:spring-security-test'
	testImplementation('org.springframework.boot:spring-boot-starter-test')
}

test {
	useJUnitPlatform()
}
다음 보안 구성( from src/main/java/com/example/securingweb/WebSecurityConfig.java)은 인증된 사용자만 비밀 인사말을 볼 수 있도록 합니다.
package com.example.securingweb;

import org.springframework.context.annotation.Bean;
import org.springframework.context.annotation.Configuration;
import org.springframework.security.config.annotation.web.builders.HttpSecurity;
import org.springframework.security.config.annotation.web.configuration.EnableWebSecurity;
import org.springframework.security.config.annotation.web.configuration.WebSecurityConfigurerAdapter;
import org.springframework.security.core.userdetails.User;
import org.springframework.security.core.userdetails.UserDetails;
import org.springframework.security.core.userdetails.UserDetailsService;
import org.springframework.security.provisioning.InMemoryUserDetailsManager;

@Configuration
@EnableWebSecurity
/*
The WebSecurityConfig class is annotated with
@EnableWebSecurity to enable Spring Security’s web security support
and provide the Spring MVC integration
스프링 시큐리티의 웹 보안 및 mvc 통합을 제공하는 annotation
*/
public class WebSecurityConfig extends WebSecurityConfigurerAdapter {
	@Override
	protected void configure(HttpSecurity http) throws Exception {
		http
			.authorizeRequests()
				.antMatchers("/", "/home").permitAll()
				.anyRequest().authenticated()
				.and()
			.formLogin()
				.loginPage("/login")
				.permitAll()
				.and()
			.logout()
				.permitAll();
	}
    /*
    보안되어야 하는 URL 경로와 보완되지 않아야 하는 URL 경로를 정의
    / 및 /home 경로는 인증이 필요하지 않도록 구성
    다른 모든 경로는 인증이 필요

    사용자가 성공적으로 로그인시 이전에 요청한 페이지로 redirection됩니다.
    사용자 지정 /login 페이지 (.loginPage에 매개변수로 변환가능)이 있고
    모든 사람이 볼 수 있습니다.
    */

	@Bean
	@Override
	public UserDetailsService userDetailsService() {
		UserDetails user =
			 User.withDefaultPasswordEncoder()
				.username("user")
				.password("password")
				.roles("USER")
				.build();

		return new InMemoryUserDetailsManager(user);
	}
    /*
    이 userDetailsService()메서드는 인스턴스를 생성하고
    이름, 패스워드, 권한을 부여하고 리턴하여
    각 유저들을 user store 메모리에서 설정합니다.
    */
}
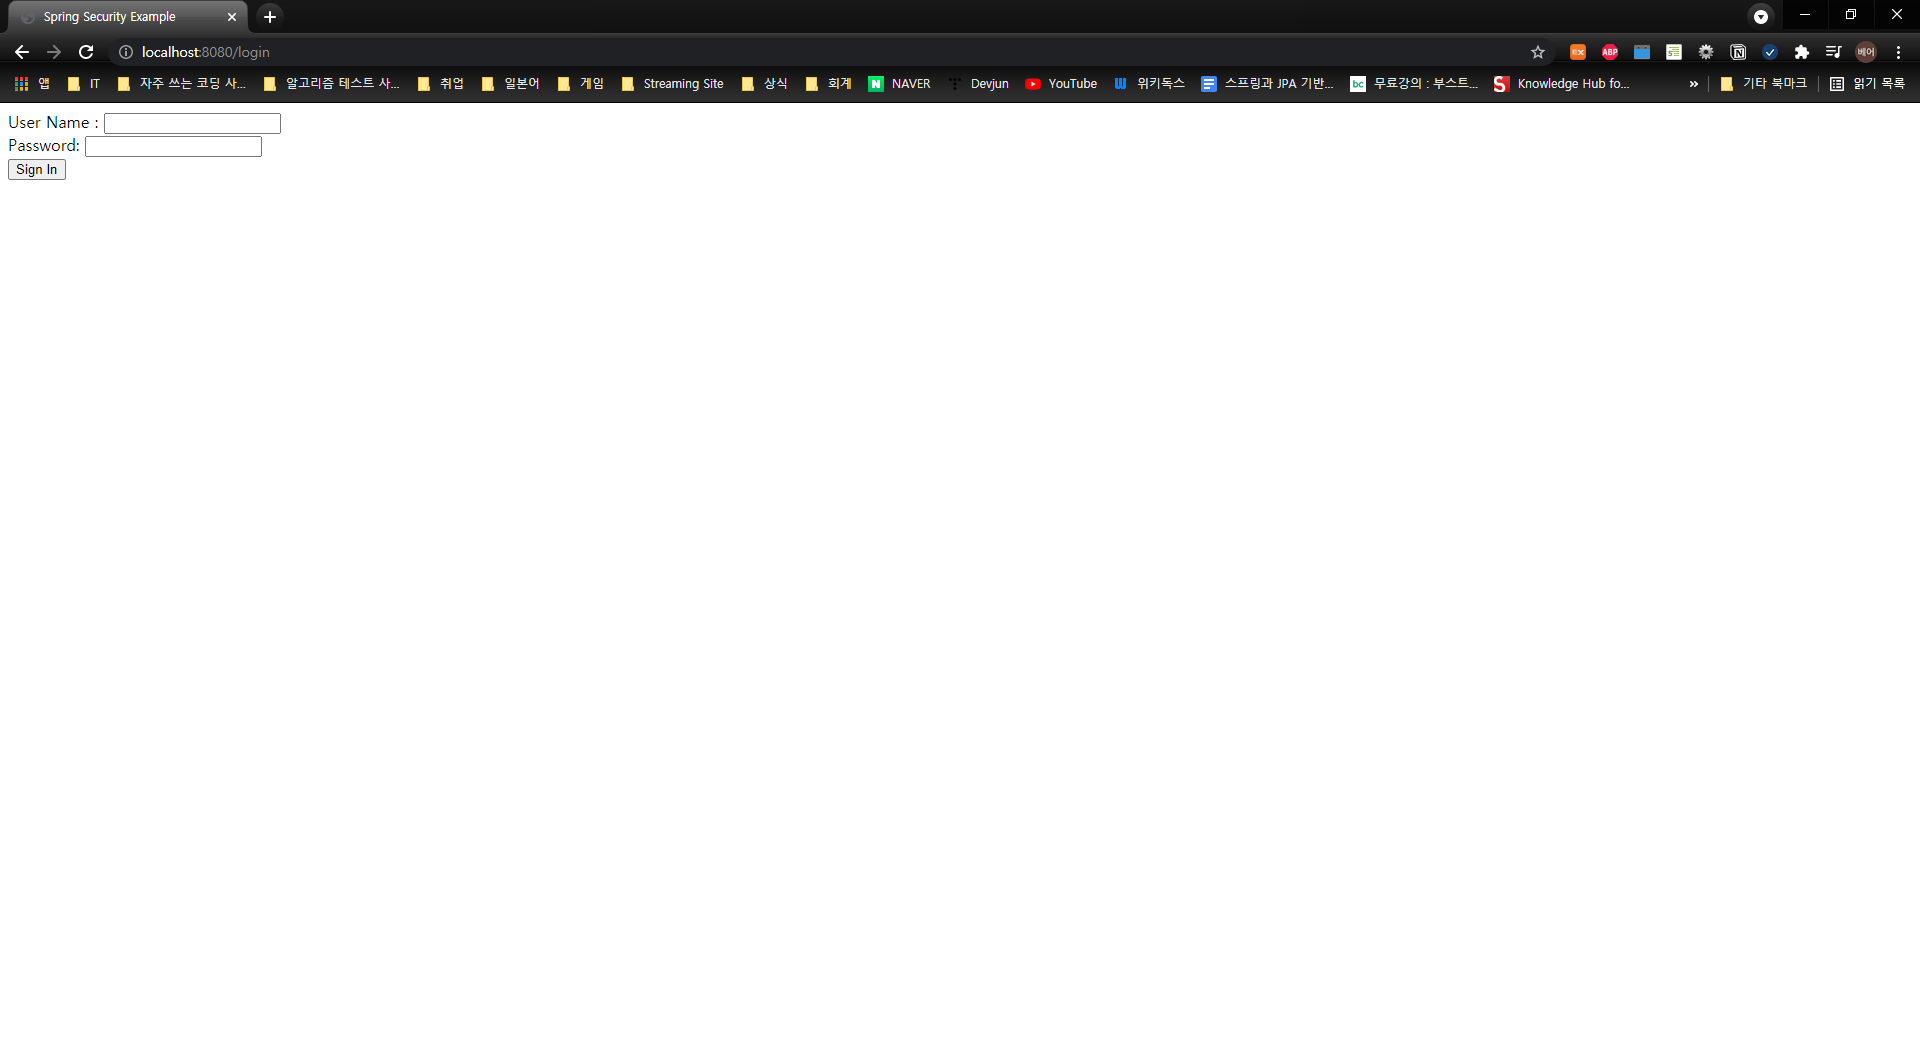
로그인 페이지
login.html
<!DOCTYPE html>
<html xmlns="http://www.w3.org/1999/xhtml" xmlns:th="https://www.thymeleaf.org"
      xmlns:sec="https://www.thymeleaf.org/thymeleaf-extras-springsecurity3">
    <head>
        <title>Spring Security Example </title>
    </head>
    <body>
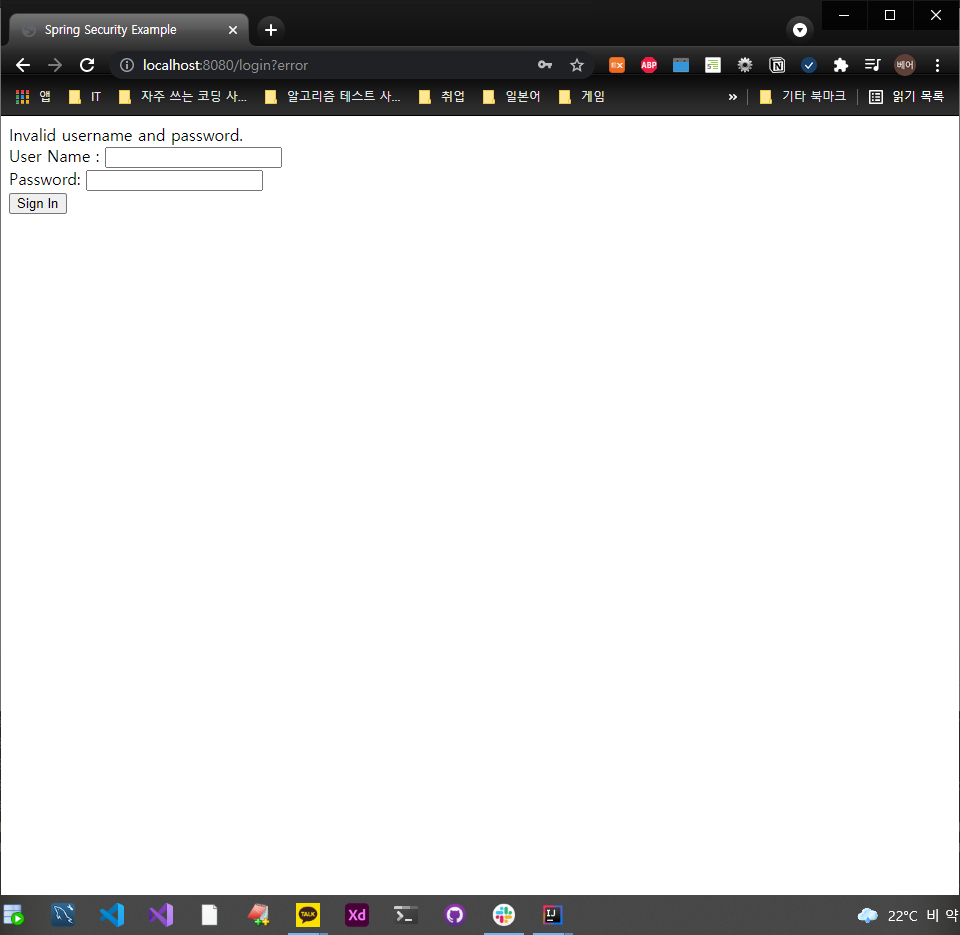
        <div th:if="${param.error}"> <!-- 타임리프로 에러시 보여주는 메세지 -->
            Invalid username and password.
        </div>
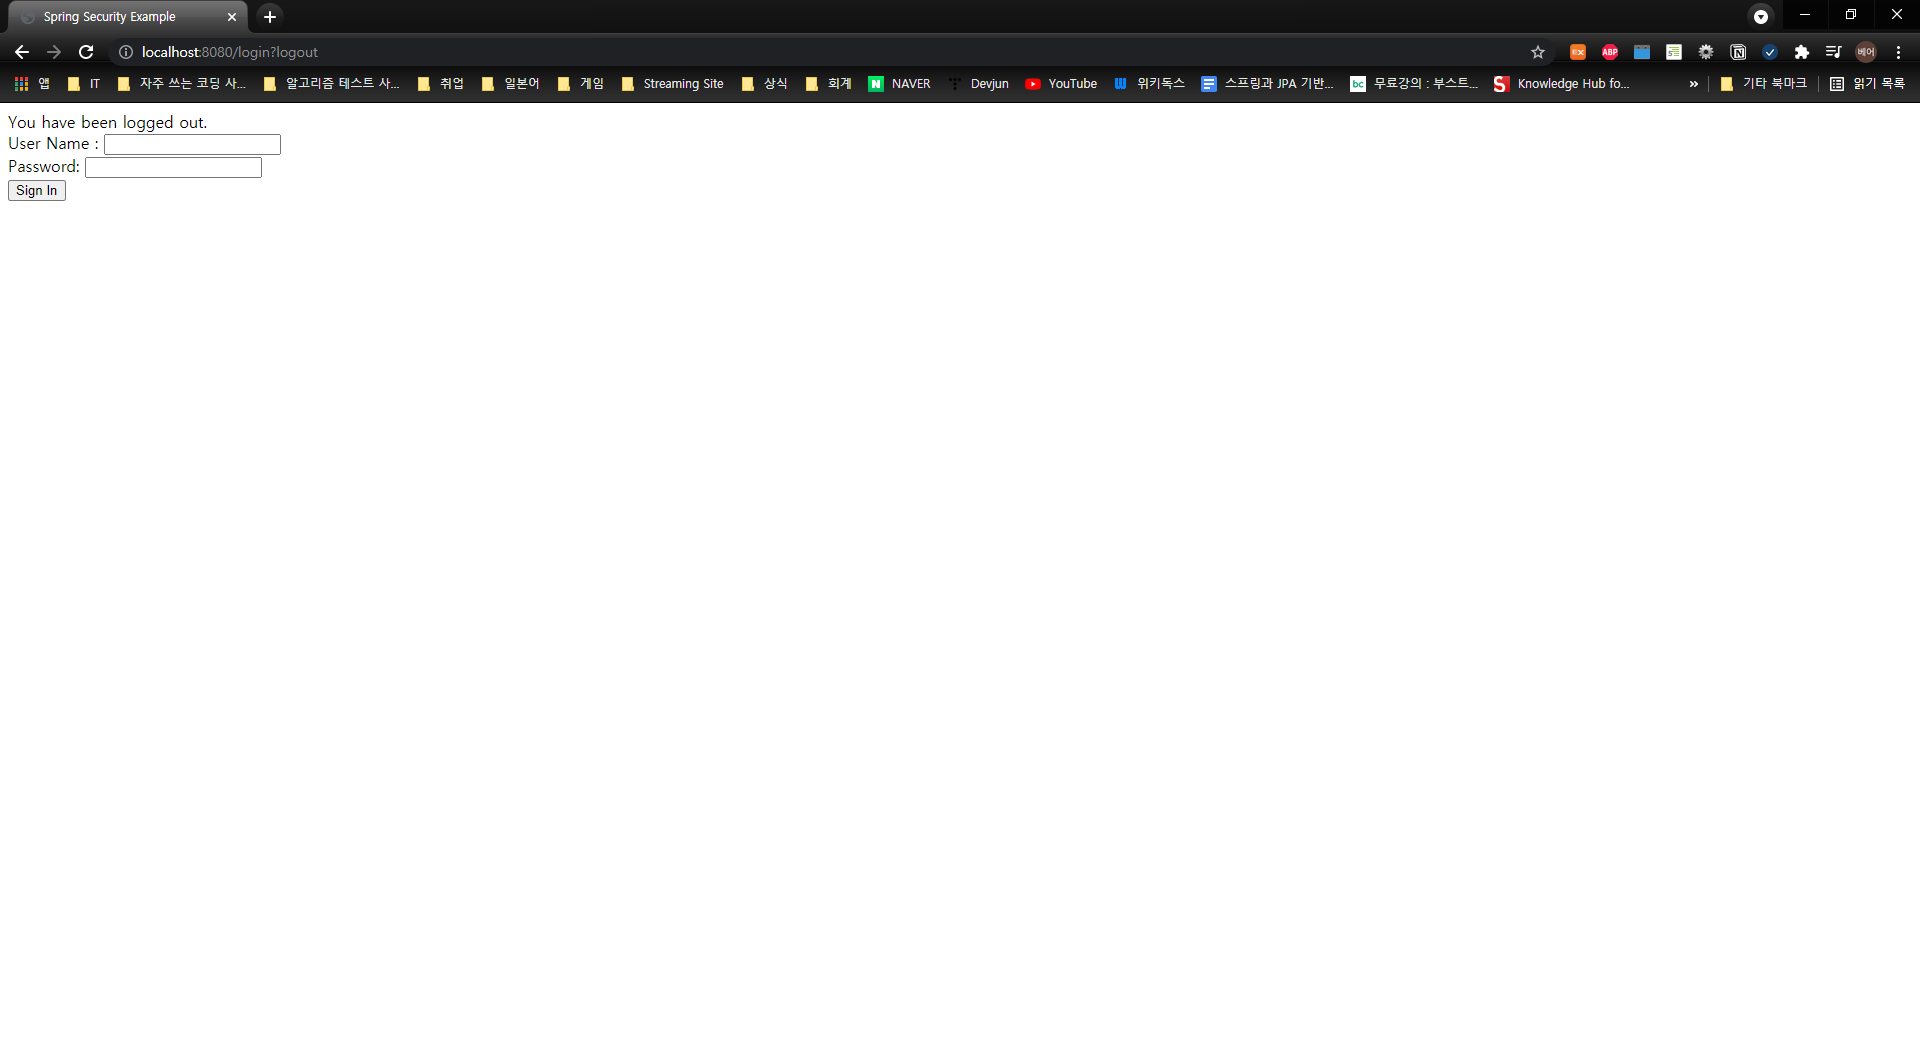
        <div th:if="${param.logout}"> <!-- 타임리프로 로그아웃시 보여주는 메세지 -->
            You have been logged out.
        </div>
        <form th:action="@{/login}" method="post">
            <div><label> User Name : <input type="text" name="username"/> </label></div>
            <div><label> Password: <input type="password" name="password"/> </label></div>
            <div><input type="submit" value="Sign In"/></div>
        </form>
    </body>
</html>
환영 페이지
Hello.html
<!DOCTYPE html>
<html xmlns="http://www.w3.org/1999/xhtml" xmlns:th="https://www.thymeleaf.org"
      xmlns:sec="https://www.thymeleaf.org/thymeleaf-extras-springsecurity3">
    <head>
        <title>Hello World!</title>
    </head>
    <body>
    <!-- Spring Security의 Integration을 이용해 로그인 한 유저의 이름을 보여줍니다. -->
    <!-- HttpServletRequest#getRemoteUser() -->
        <h1 th:inline="text">Hello [[${#httpServletRequest.remoteUser}]]!</h1>
        <form th:action="@{/logout}" method="post">
            <input type="submit" value="Sign Out"/>
        </form>
    </body>
</html>
애플리케이션 실행
package com.devjun.searchingissue;

import org.springframework.boot.SpringApplication;
import org.springframework.boot.autoconfigure.SpringBootApplication;

@SpringBootApplication
public class SearchingissueApplication {

	public static void main(String[] args) {
		SpringApplication.run(SearchingissueApplication.class, args);

	}

}
실행해보기


@EnableWebSecurity어노테이션과 WebSecurityConfigurerAdapter를 상속받은 클래스에서
설정하는 것에 따라 http endpoint를 원하는 대로 제한 할 수 있게 되었다.
다만 보다 상세한 권한부여나 데이터베이스를 통한 로그인 설정은 더 만져봐야 알겠다.
'프로젝트 정리 > 실시간 검색어 프로젝트' 카테고리의 다른 글
| #8 Selenium으로 Nate 크롤링하기 (0) | 2021.09.03 |
|---|---|
| #7 Selenium with java (0) | 2021.09.01 |
| #5 프로젝트 구상 및 기획 ver.2 (0) | 2021.08.26 |
| #4 Crwaling and Robots.txt (0) | 2021.08.26 |
| #3 Practice Jsoup (0) | 2021.08.25 |